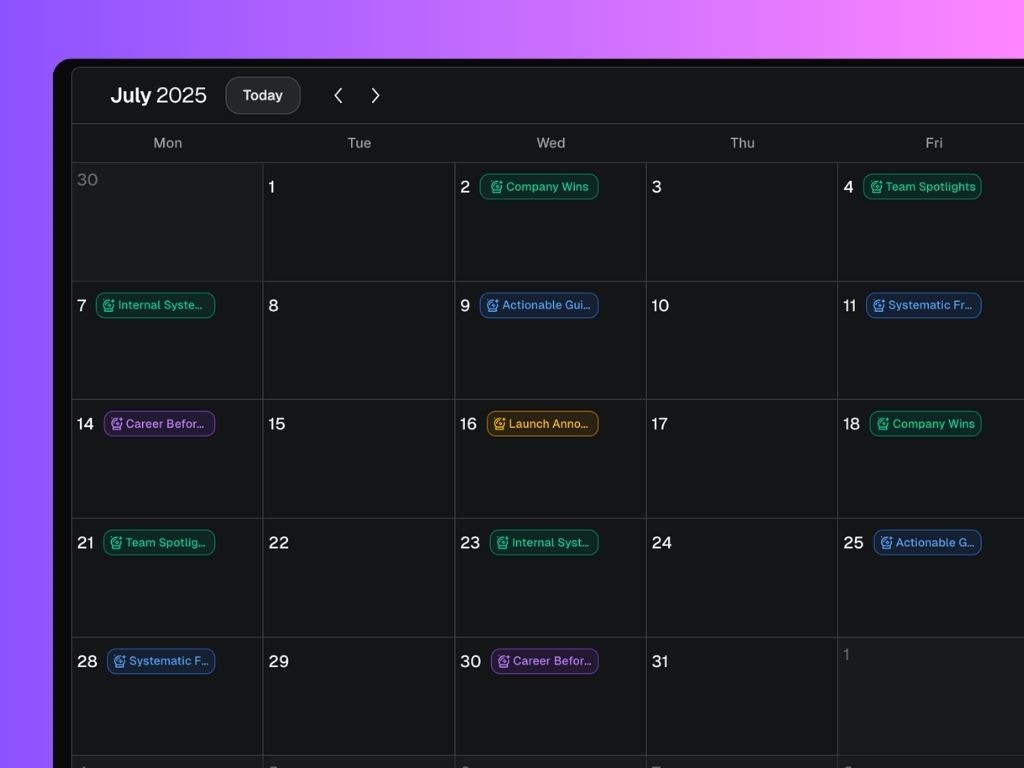
The Calendar in Scripe is your personal command center to plan and manage your content publishing schedule across the month or week, all in one clean view.Documentation Index
Fetch the complete documentation index at: https://docs.scripe.io/llms.txt
Use this file to discover all available pages before exploring further.
What you can do on the Calendar page:
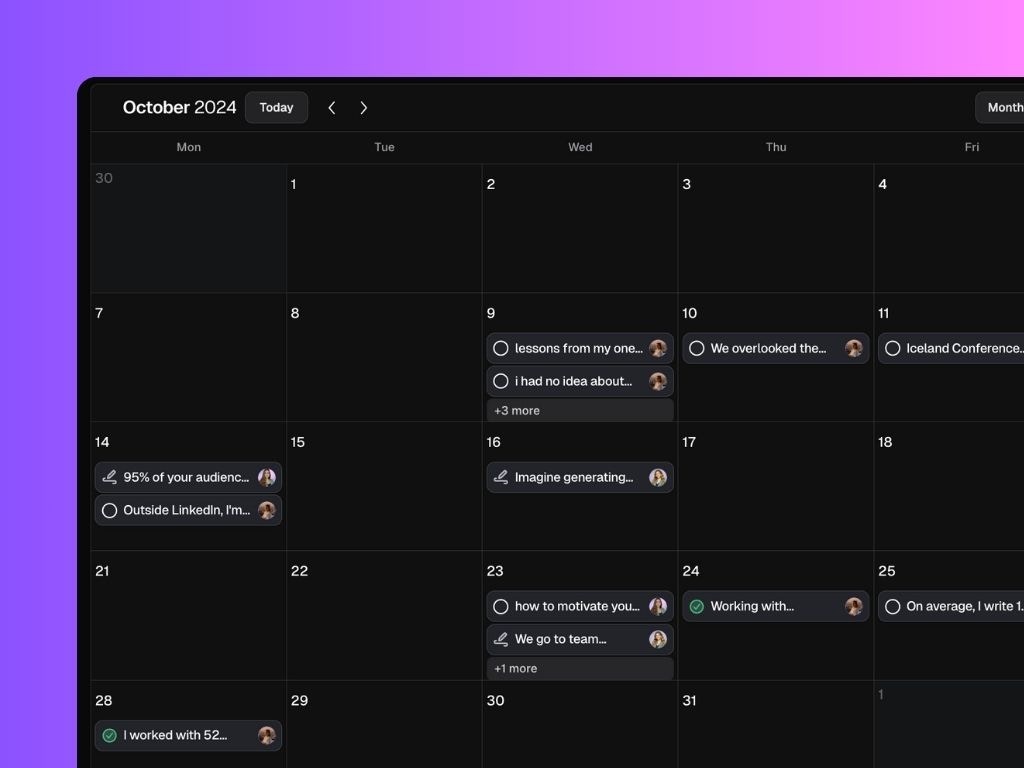
1. See all your planned & scheduled posts at a glance
Each post you’ve planned or scheduled to a specific date appears as a clickable card on your calendar. From these cards, you can:- Open and preview the post
- Track its status
- Empty Circle = Note
- Pen = Draft.
- Yellow Icon = Scheduled
- Green Icon = Published
- Jump straight into editing
- Reschedule or unschedule it
Using the “Remove post from calendar” only hides it from view — it doesn’t change its stage. If the post is scheduled, it will still be published. To make sure a scheduled post won’t go live, you’ll need to actively unschedule it.
2. Add and manage Notes
Click the “Notes” button (top-right) to access all your saved content ideas. These notes are:- Fully editable
- Connected to post creation (turn a note into a post in one click)
- Great for organizing ideas that aren’t scheduled yet
3. Switch between views
Use the Month/Week toggle to adjust your view depending on how detailed you want to go. Month view gives you the big picture; week view helps you focus on the immediate next steps.4. Customize your Scheduling Settings
Click “Settings” to:- Set your timezone
- Choose whether your week starts on Monday or Sunday
- Define your posting schedule (e.g., every Tue/Thu/Fri at 9am). Your preferred posting time will show up as a purple slot in the weekly calendar.
5. Get Post Format suggestions based on your Strategy
Scripe helps you stay on track with your content goals by displaying suggested post formats as color-coded cards. These are auto-generated based on your strategy settings. Click on a suggestion to instantly open relevant post drafts within that post format, ready for you to schedule or fine-tune.