

- You own the client’s setup, the content creation, and publishing.
- The client only provides input, approvals, or goals.
- You take over the Scripe subscription fees, integrating the cost into what you bill your client.
DFY Scripe Set-Up
Before working with a client, we recommend that you:- Get familiar with Scripe – follow this step-by-step guide to set up your own workspace first and learn the platform inside out.
- Join our Workshops – bring questions, learn best practices, and get support.
As part of our Business Plan, you can book a 1:1 onboarding directly from your dashboard to support your Scripe set-up.
1. Choose your Client Set-Up
There are two main ways to manage Client Accounts in Scripe:You have the client's LinkedIn credentials
Easiest option. You add their personal brand to a workspace you created and can already start creating & scheduling posts on their behalf.
You don't have the client's LinkedIn credentials
In this case, you’ll have to add your client as a member to the Scripe workspace and assign them the role of Client.They can then connect their LinkedIn account on their own.
Client connects their LinkedIn account on their own
Client connects their LinkedIn account on their own
Hi [Client Name],Here’s everything you need to get set up in our content workspace 👇Set-Up Steps:
[Your Name]
- **Accept your workspace invitation: **You’ll receive an email invitation to join your Scripe workspace. Simply accept the invitation and log in.
- **Connect your LinkedIn account: **Once you’re inside the workspace, click Connect in the top-right corner of your dashboard and follow the prompts to connect your LinkedIn account.
- **Confirm the connection: **When your LinkedIn status shows as Active, you’re all set and ready to go.
[Your Name]
If they have questions on how to connect their LinkedIn account, please direct them to this article.
2. Scripe Setup Checklist
Start by creating a new workspace for your client.
To manage or create new workspaces, open the menu by clicking on your workspace name in the top left corner and select Switch workspace.There, you’ll see a list of all your workspaces, and the option to Add Workspace.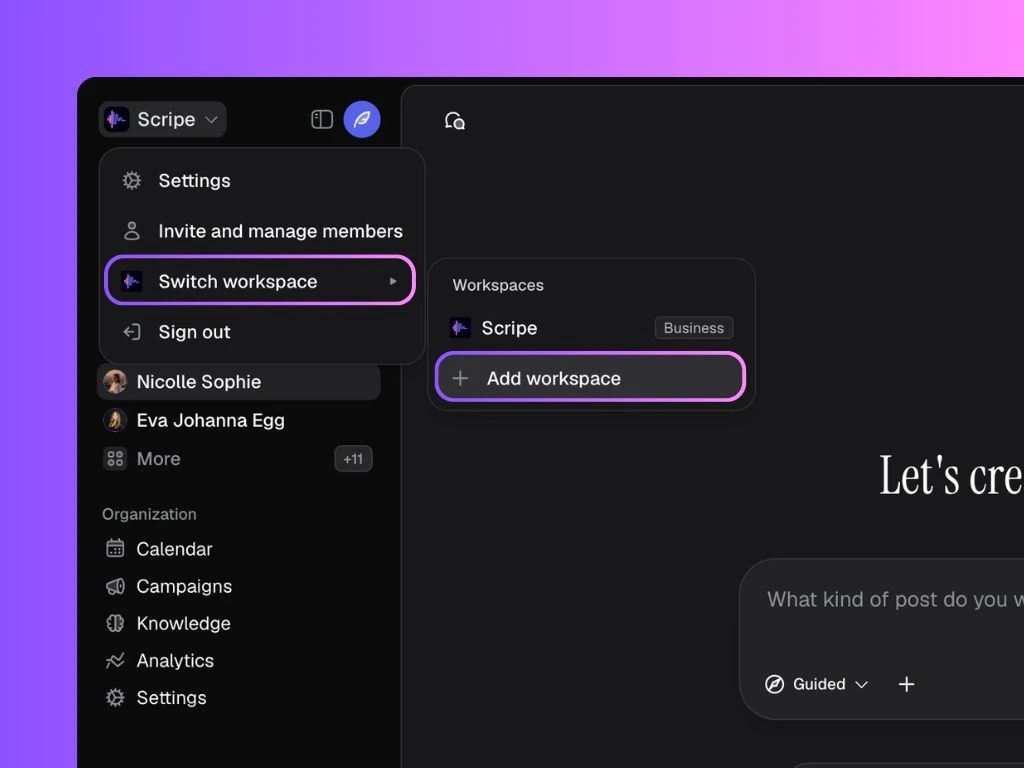
- Name the workspace.
- Add users immediately (or skip and do this later).
Add a Personal Brand for your client.
You’ll be prompted to add a new LinkedIn account to your workspace when creating it. If you don’t have your client’s LinkedIn credentials, please skip the connection.
Invite Members to the workspace.
To invite members to your workspace, open the menu by clicking on your workspace name in the top left corner and select Invite and Manage Members.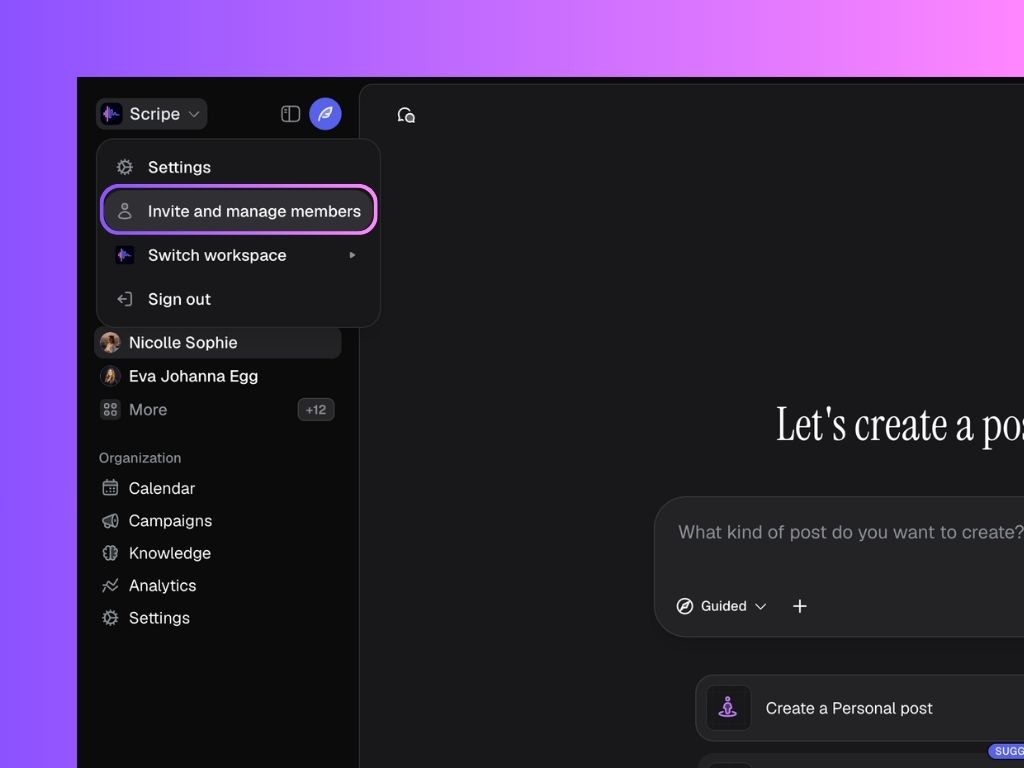
- Enter the user’s email, choose which Personal Brand(s) they should have access to, and assign a role:
- Admin – Full access to everything.
- Manager – Manage members and accounts. No billing access.
- Creator – Can fully create and post on assigned accounts.
- Assistant – Supports with posts but can’t publish.
- Client – Read-only review of assigned posts + analytics.
- Send the invite.
You can assign multiple users to the same brand, or assign one user to several brands.
3. Onboard your client to Scripe
- Invite your client to a Scripe Onboarding Call.
- Meet in the call and guide the client through the Scripe Platform.
- Teach them where to see the Posts and how to approve them.
Walk the Client through their Scripe account.
If your client has the Client role, walk them through the parts of Scripe they can access:This helps the client understand exactly where they’re involved, what they’re responsible for, and how visibility is maintained throughout the process.
- Inbox: This is where they receive notifications to review or approve posts.
- Posts tab: Explain the different post statuses and how content moves through the workflow during your collaboration.
- Calendar tab: This gives them a clear overview of when posts are scheduled to go live.
- Analytics tab: Highlight that this is where they’ll see the impact of all the content you’re creating and managing for them.
Important: If you assign your client a role other than Client, they’ll have full access to create, view, and edit all posts from the Personal Brand they’re assigned to.